

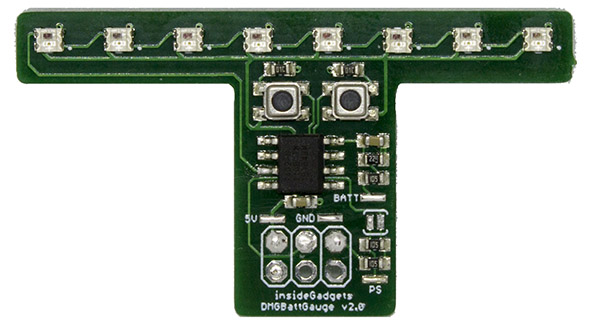
Description
How to use
Brightness
Press the left or right button to increase or decrease the brightness when on the default LED colour (2 red, 3 blue, 3 green).
Change mode
Change between the default LED colour and your custom colour by holding the left button for 1 second and releasing the button.
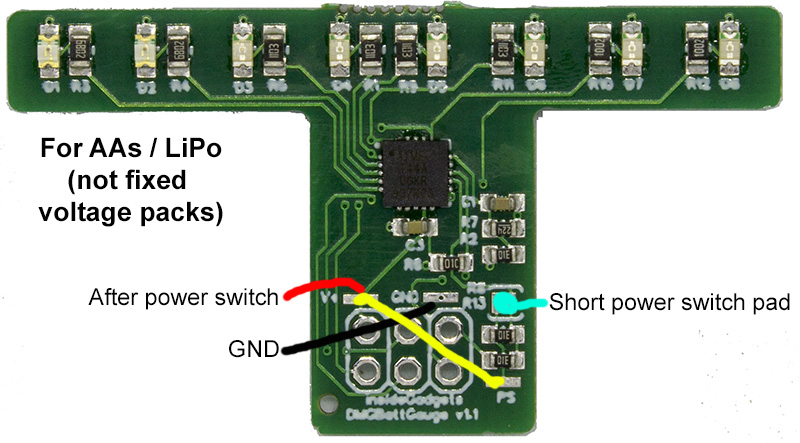
Customise the colour and changing battery measuring mode AA/LiPo
– Hold the right button for 1 second and release.
– A red LED will appear on the right, you can press the left/right button to adjust the red LED brightness. Hold the right button for 1 second and release to proceed to the next colour of green and then blue.
– After blue, either 2 or 4 red LEDs will appear on the left side, they indiciate the mode. 2 for AAs and 4 for LiPo. Hold the right button once more and release to go back to normal.
Installation (v2)
Have the 3 wires go through the middle hole where the capacitor is and use blu-tack or double sided tape on the capacitor/hole to hold it in place. Take care as you will be placing it on the LCD ribbon cable.
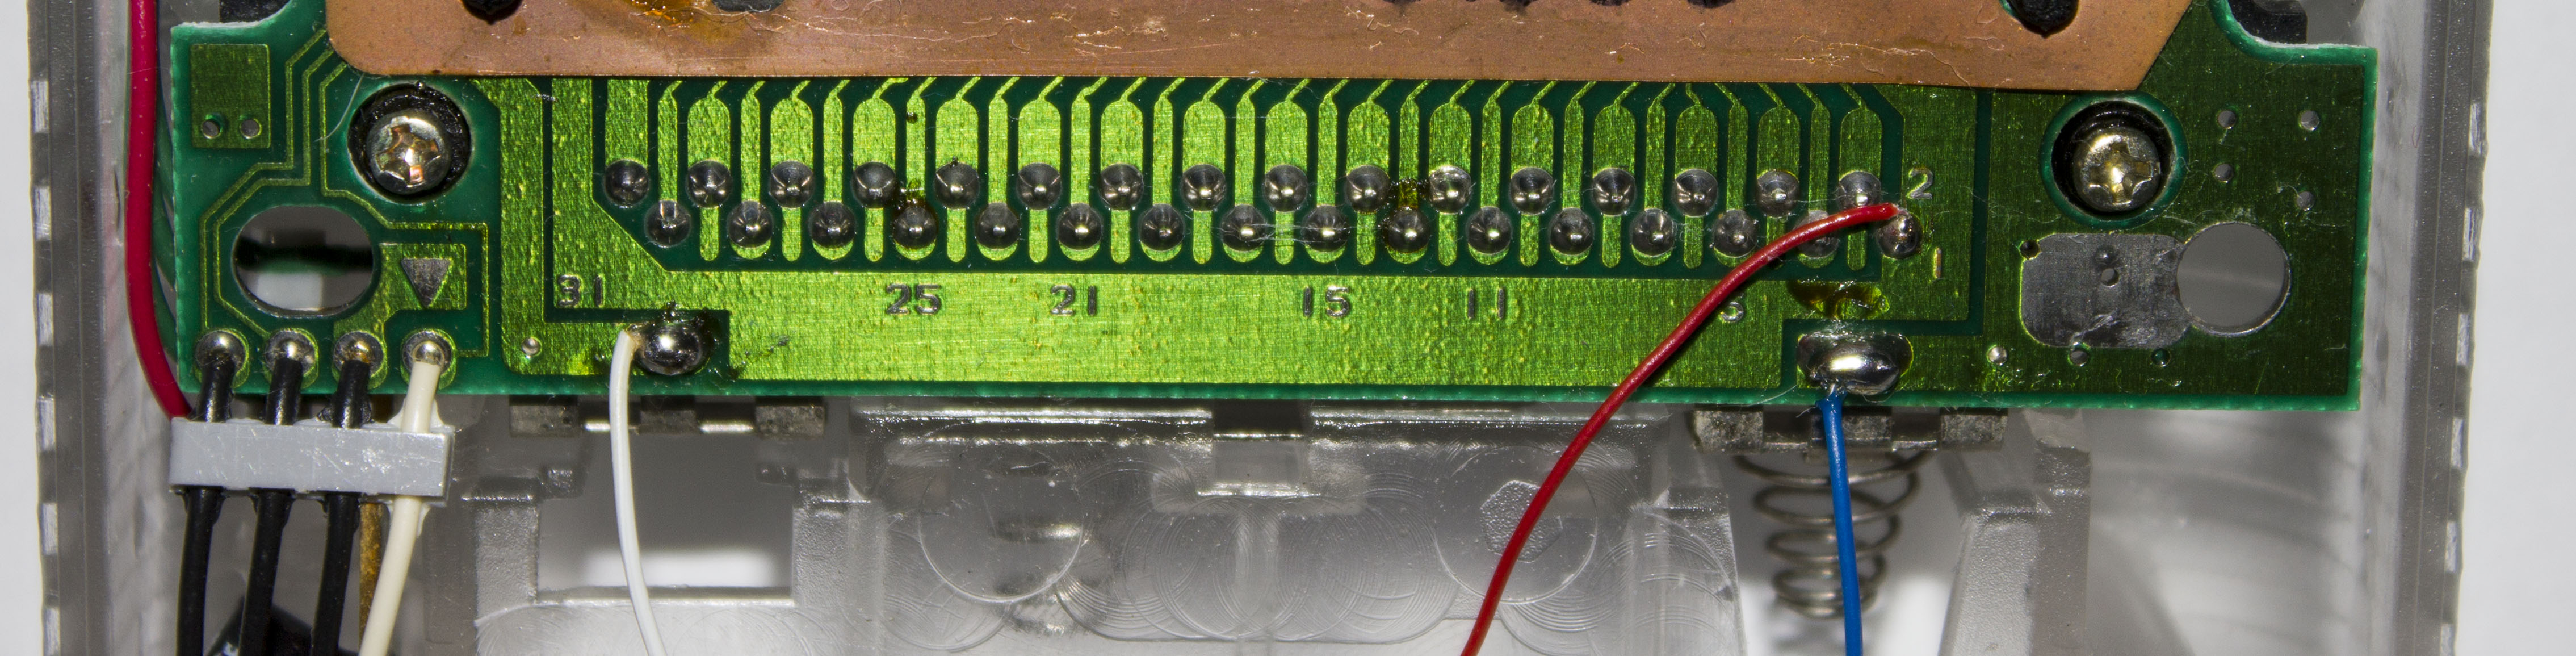
Connect 5V to the cartridge header pin 1 (red cable)
Connect GND to the battery negative terminal (blue cable)
Connect BATT to battery positive terminal (white cable)
LiPo – Voltage when LEDs turn on
LED1 – 3.15v
LED2 – 3.3v
LED3 – 3.4v
LED4 – 3.5v
LED5 – 3.6v
LED6 – 3.75v
LED7 – 3.9v
LED8 – 4v
Rechargeable AA (1.2v) – Voltage when LEDs turn on
LED1 – 3.9v
LED2 – 4.0v
LED3 – 4.1v
LED4 – 4.2v
LED5 – 4.5v
LED6 – 4.6v
LED7 – 4.7v
LED8 – 4.8v

Reviews
There are no reviews yet.