SNESxFlasher

$29.00$31.00 USD

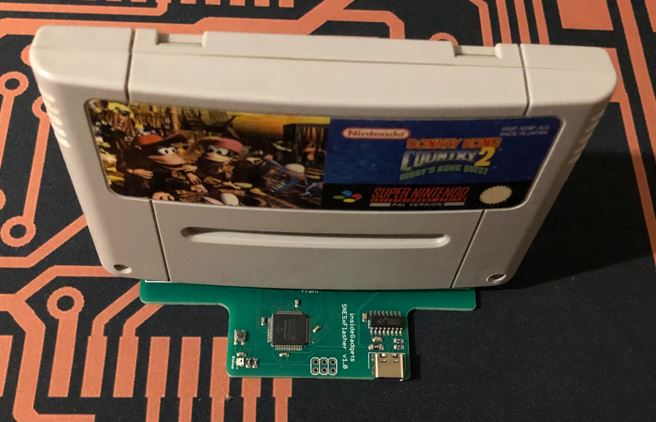
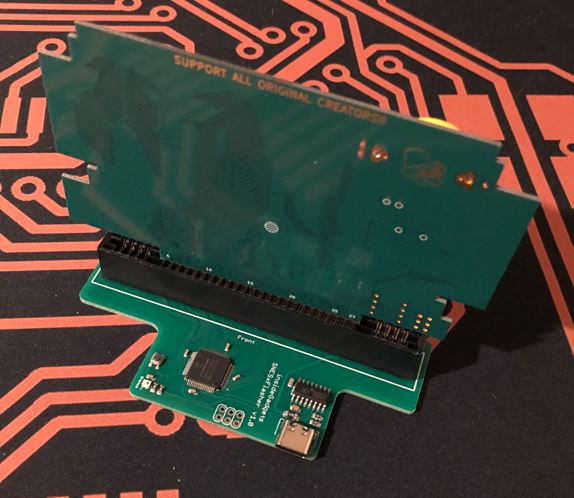
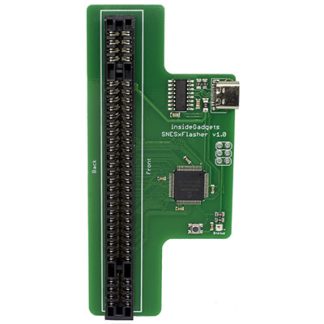
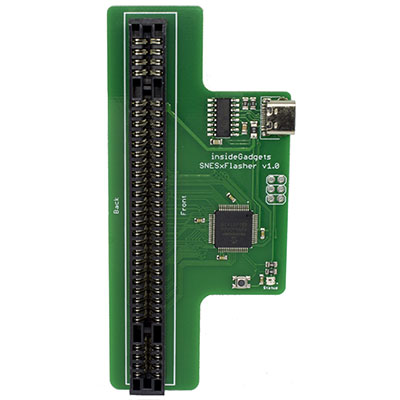
SNESxFlasher is a device that allows you to write ROMs to supported flash carts, backup your games and backup/restore save games. Only supports basic LoROM/HiROM/ExROM carts. Designed and made in Australia.

For easy of use on Windows, if you install the context menu extension add-on, you can right click a .sfc/.smc file and then select “Flash with SNESxFlasher” and it’ll do the rest. Just make sure you have the DIP switch settings correct on the flash cart.

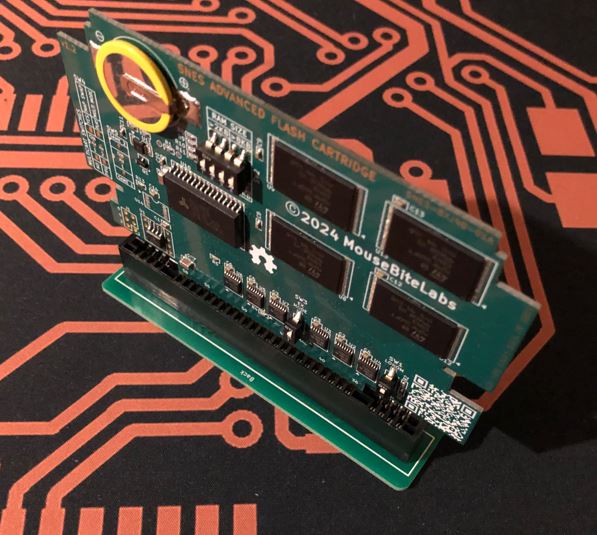
This device was made specifically for writing ROMs to the Bucket Mouse SNES AdvancedFlash Cart. At this time, there are no plans to add support for other cartridges so please keep that in mind before you purchase.

SKU: N/A Category:

Description

Downloads
ROM Backup – Run to backup the ROM
Save Management (backup/restore) – Run to backup the save data. Drag and drop a save file to restore it to the cart
Flasher – Drag and drop a ROM file to write to your flash cart

Windows – v1.0
Mac/Linux (TBA) – will require to you find your COM port, edit the rs232.c file and re-compile, see more below.

The programs analyse the ROM information on the cart or in the ROM file and selects the correct settings (ROM size, RAM size, etc) based on it.

Mac/Linux Setup
For Mac: You may need to install this CH340G driver – https://github.com/adrianmihalko/ch340g-ch34g-ch34x-mac-os-x-driver

For Linux: Make sure your kernel is up to date as the device may not be recognised.

1. Open the zip file downloaded and drag the folder to your desktop.
2. Open a terminal window and change directory to the directory by using “cd”
3. You will need to compile the application by typing in “make”.
4. Make sure your user is part of the “dialout” group so you can open serial port devices. You can run “sudo adduser your_username_here dialout” if you aren’t sure.
5. You can then run the application by typing in “./snesxflasher_rom_backup_v1.0” for example.

If it has trouble connecting to the serial port, continue on with these steps:
6. Run “sudo ls /dev” to see if you can find a device similar to tty.chusbserial630.

Gbx-mac-4.PNG

7. Open the rs232/rs232.c file to edit it.

Gbx-mac-5.PNG

8. Replace the first entry as shown and save the file.

Gbx-mac-6.PNG

9. Re-compile and re-run the program by following step 4 and 5 again. This time it should connect.

Additional information

Weight 48 g
USB cable

None, USB-A to USB-C cable (Black)

Reviews

There are no reviews yet.

Only logged in customers who have purchased this product may leave a review.