Description
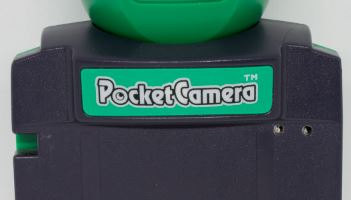
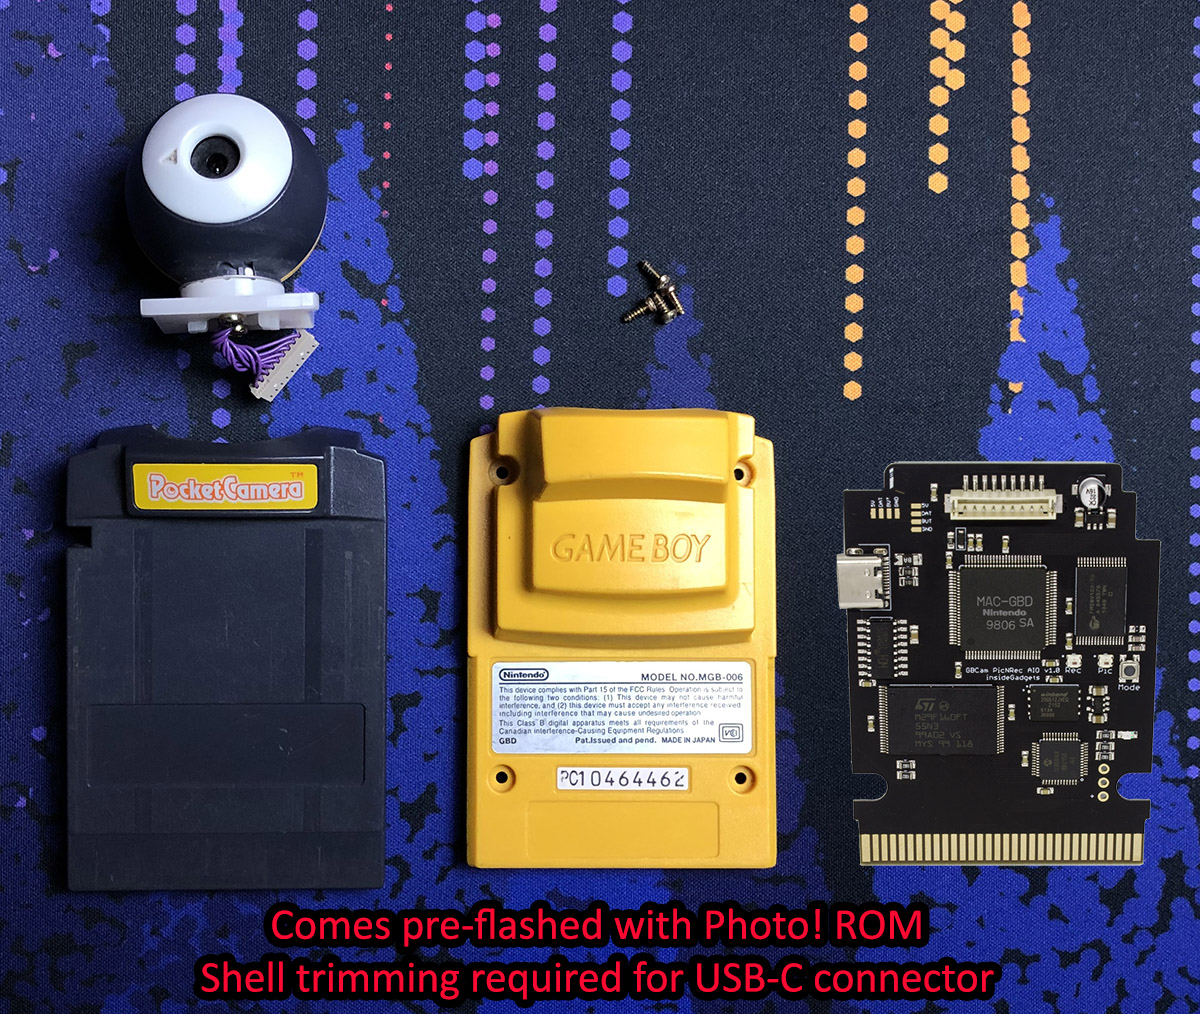
For USB port access you will need trim/file the edge of both parts of the shell. If you don’t require USB access, you just need to trim the top part of the shell only.
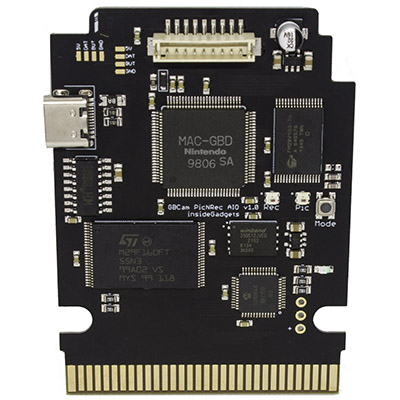
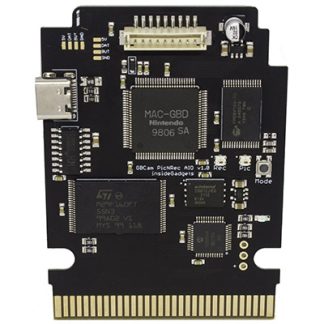
For the LEDs and button, there is a place to mount both on the PCB back. You can potentially drill tiny holes for them and a larger hole for the button. There may be an aftermarket GB Camera shell made by others which could save you cutting/filing/drilling holes. There is also a place for a custom flat flex cable you could make which could potentially relocate the LEDs and buttons to any location you like.
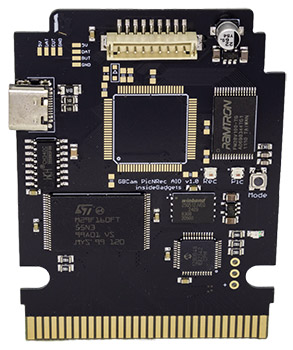
For users that select the BYO Camera, all missing parts are 100nF 0603 capacitors except for the 1K 0603 resistor and diode which can be taken from the original GB Camera PCB.
If you use the “Photo!” ROM then you don’t need access to the button as it can trigger the modes from the software (Press the select button > Action, change to Pic’n’Rec).

Corey K (verified owner) –
Device is fantastic. I purchased this right after purchasing my first OEM Game Boy Camera and I am impressed at how much this thing does. For anyone curious, the custom Photo! Rom basically trims all the frills and fun games of the device and is strictly a fully customizable camera instead. You can also record video, send directly to a Game Boy Printer, save to multiple “Rolls” before backing them up on PC. You can also boot the other Game Boy Camera rom images which is a ton of fun, send direct live video capture, all directly from the camera. Highly recommended and hopefully this review gives clarity to anybody curious like I was.