Description
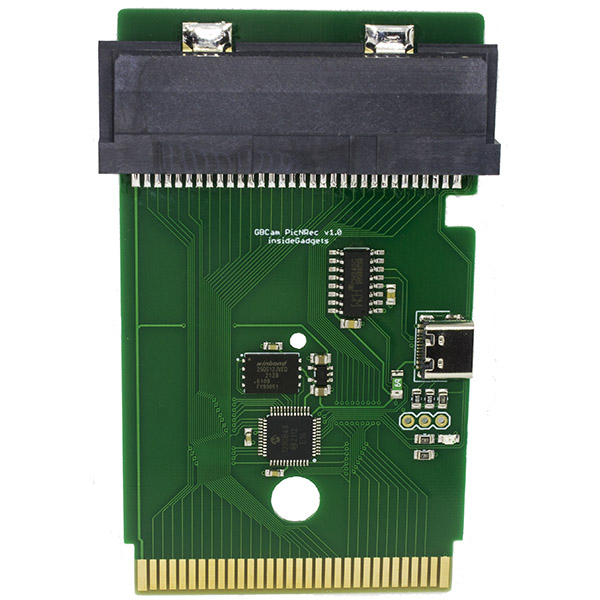
Hardware – How to use
1. Insert the device between your Gameboy and the Gameboy Camera.
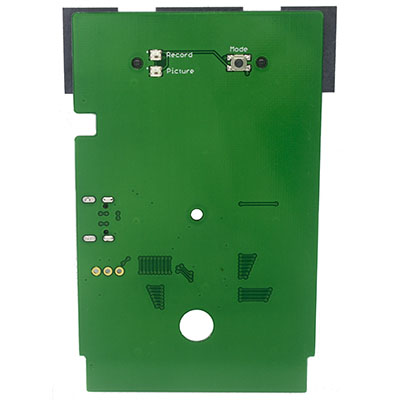
2. Once powered on, you will see which mode you are in by the corresponding LED – Record, Time lapse or Picture.
3. Select to take a picture with the camera like you normally would.
Record mode – the LED will start blinking each time a picture has been captured. The frames per second depends on the lighting.
Time lapse mode – both LEDs are on. Configurable from the software from 1 second to 60 seconds. Both LEDs will blink each time a picture has been captured.
Picture mode – the LED is on. Press A to take a picture like normal and wait 1.5 seconds, the LED will blink 3 times to indicate the picture has been saved. You can now press B to return to the live view.
This device will record or take pictures where you last left off after you powered off so it won’t overwrite any existing data.
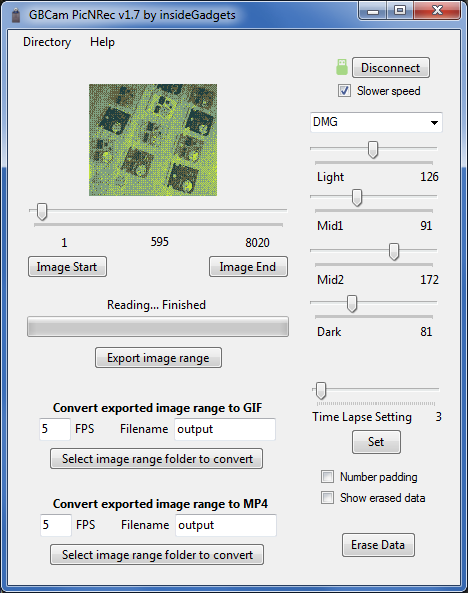
Software – How to use
Once the device is plugged in, select Connect and it will load up the last image on the device.
Using your mouse or keyboard, you can change the image show on the screen. You can change the colour presets on the top right and move the slider bars around.
– Export images to a folder
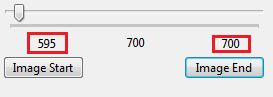 Choose your starting image and select “Image Start”
Choose your ending image and select “Image End”
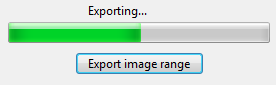 Select “Export image range” and wait for the progress bar to complete.
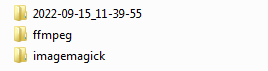 A folder with the current date/time will be created in the same directory as the program.
– Convert exported image range to GIF / MP4
 Select the folder of the exported images in the above step.
 A command window should appear, depending on the amount of images, it can take a few seconds or a minute or two.
Once the command window has closed, check the for the file in same directory as the program.
– Time Lapse setting
You can change the amount of time (in seconds) that the device will record an image. Press “Set” when you wish to store the change.
– Number padding
Add zeros to the front of the file name, e.g. 000001.bmp. Useful if you are importing all the bmp files to a different program so they stay in order
– Show erased data
Useful if you have erased the data previous but haven’t overwritten it yet. Select this option and then scroll through the device’s images that were previously shown as “X” error.
– Erase data
You can wipe the “master file table” which tells the device where the next picture should be stored. The next picture will be changed to position 1. If you don’t overwrite the existing data on the device, you can select the “Show erased data” to see it.
LED colours indicating space used
Green – 0 to 24%
Blue – 25% to 49%
Light Blue – 50% to 74%
Yellow – 75% to 90%
Red – 91% to 100%
At 100%, both LEDs will be red. You need to use the interface software to erase the contents before you can use the device again.
Download
You also need the Microsoft Visual C++ Redistributable Packages
Please install both x86 and x64
Revision History
14 July 2024 – v1.9
– Fixed issue where number padding and palette setting wouldn’t be remembered until you connected
– Fixed issue where if number padding was enabled, export to GIF/MP4 didn’t work
– Fixed “Directory” option that wasn’t working
– Changed image start/end labels to text boxes
– Added “Jump to End” button so you can jump to the end again
14 October 2023 – v1.8
– Fixed bug where last image wasn’t being exported
8 September 2022 – v1.7
– Added slow speed communication by default as some users were having issues with corrupted images
28 June 2022 – v1.6
– Fixed serial communication issue which could result in some corrupted images
3 June 2022 – v1.5
– Added “Number padding” checkbox to add zeros to the front of the file name, e.g. 000001.bmp
– Remembers the last chosen palette
4 May 2022 – v1.4
– Changed Export to MP4/GIF text to make it more understandable
4 April 2022 – v1.3
– Fixed error message when connecting with Windows 10/11 when the device wasn’t plugged in
– Added CH340/CH341 drivers folder when using this device on a new PC
15 March 2022 – v1.2
– Automatically set the “Image End” as the last image when connecting
13 March 2022 – v1.1
– Added export to GIF option
Questions? Jump on our Discord server where we and other users can help you or contact us via Twitter.
The PCB finish is ENIG.
Reviews
There are no reviews yet.