Description
As a minimum you should pre-tin the BT- pad with solder, it may take 3-4 seconds as there are no thermal reliefs on that test pad. It’s recommended to pre-tin the other pads as well to make the install quicker.
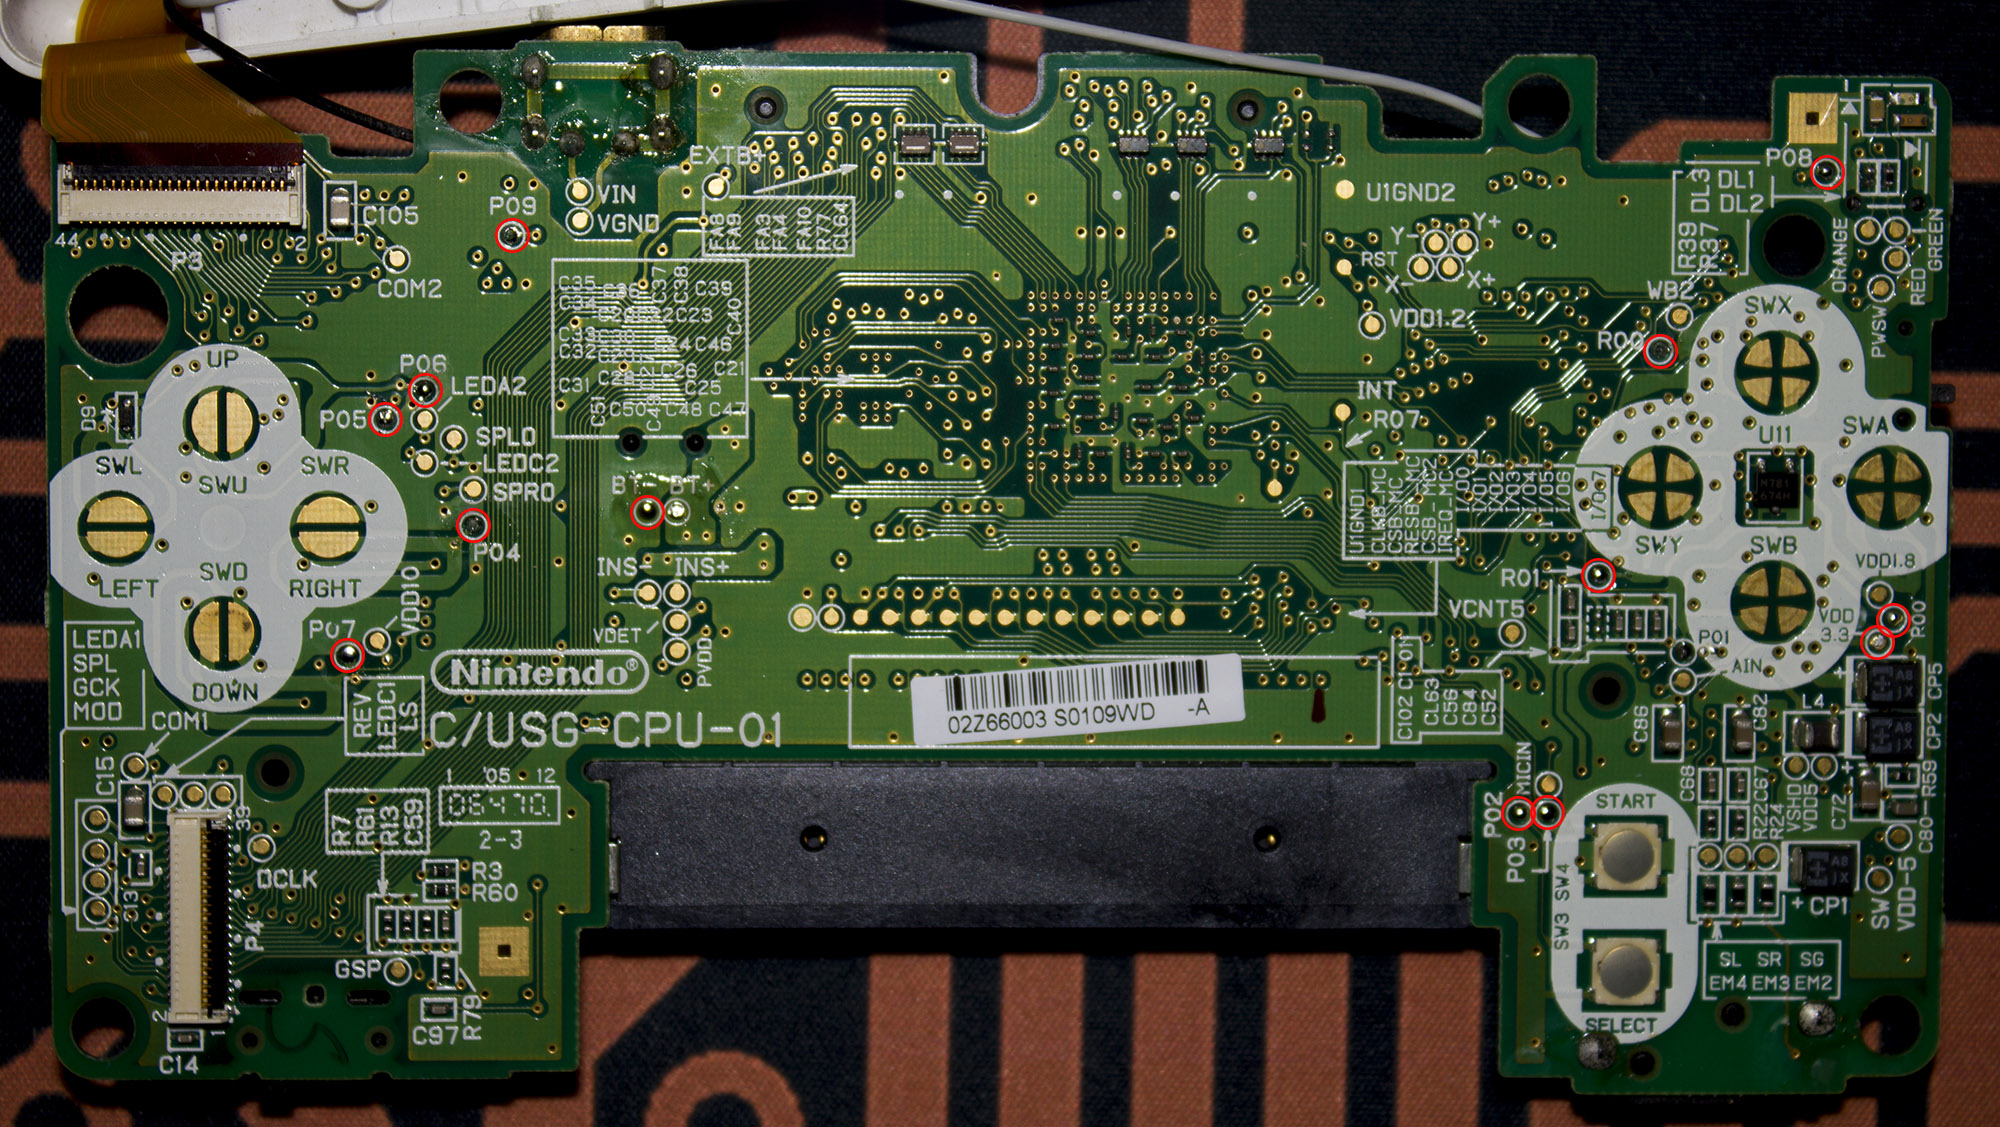
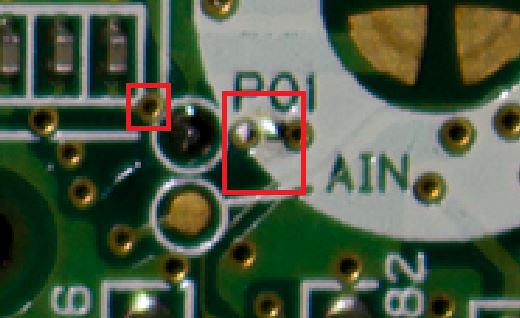
We recommend using a bit of kapton tape to cover the vias near the B button as it can be bridged with the B button when installing and lead to the B button not working.
Lay the flex board over the PCB and align it. You can use tape or blu-tack to hold it in place. Apply some solder to tack the flex pad to the PCB pad.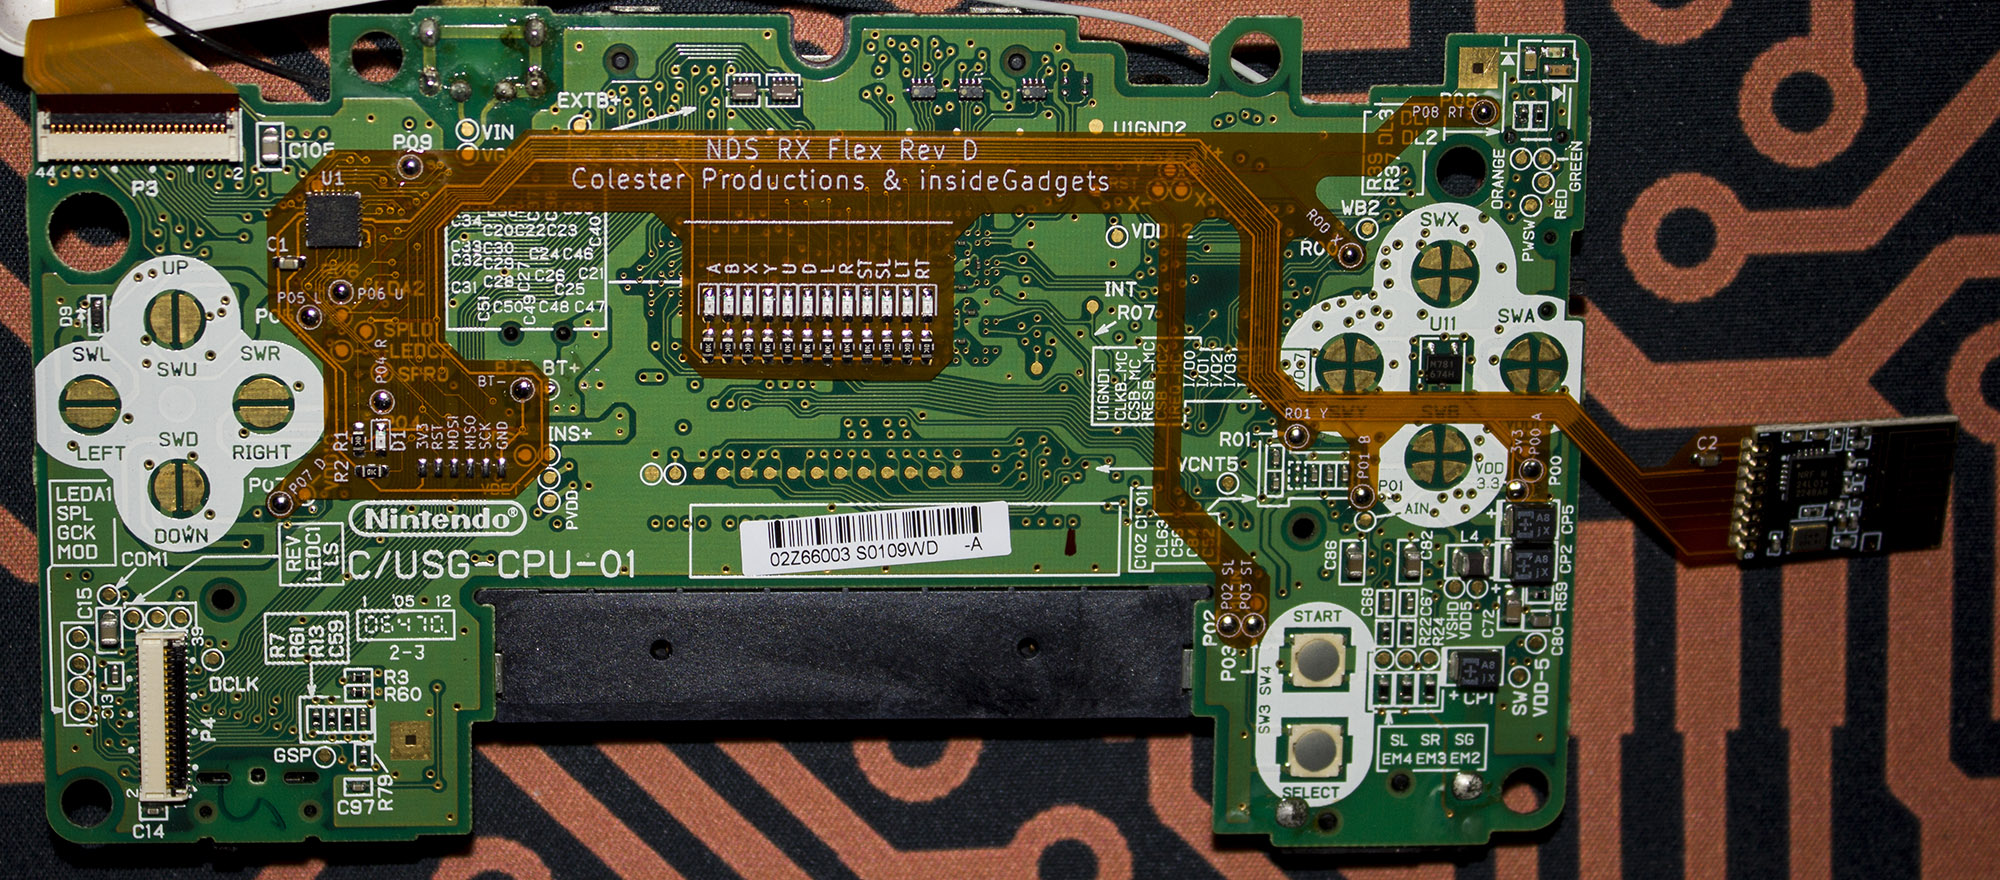
You should now plug in the bottom screen and power up the DS Lite to confirm the installation was successful. If you power up your GB/GBA/DS transmitter cart and press buttons, you will see the LEDs on the flex board light up.
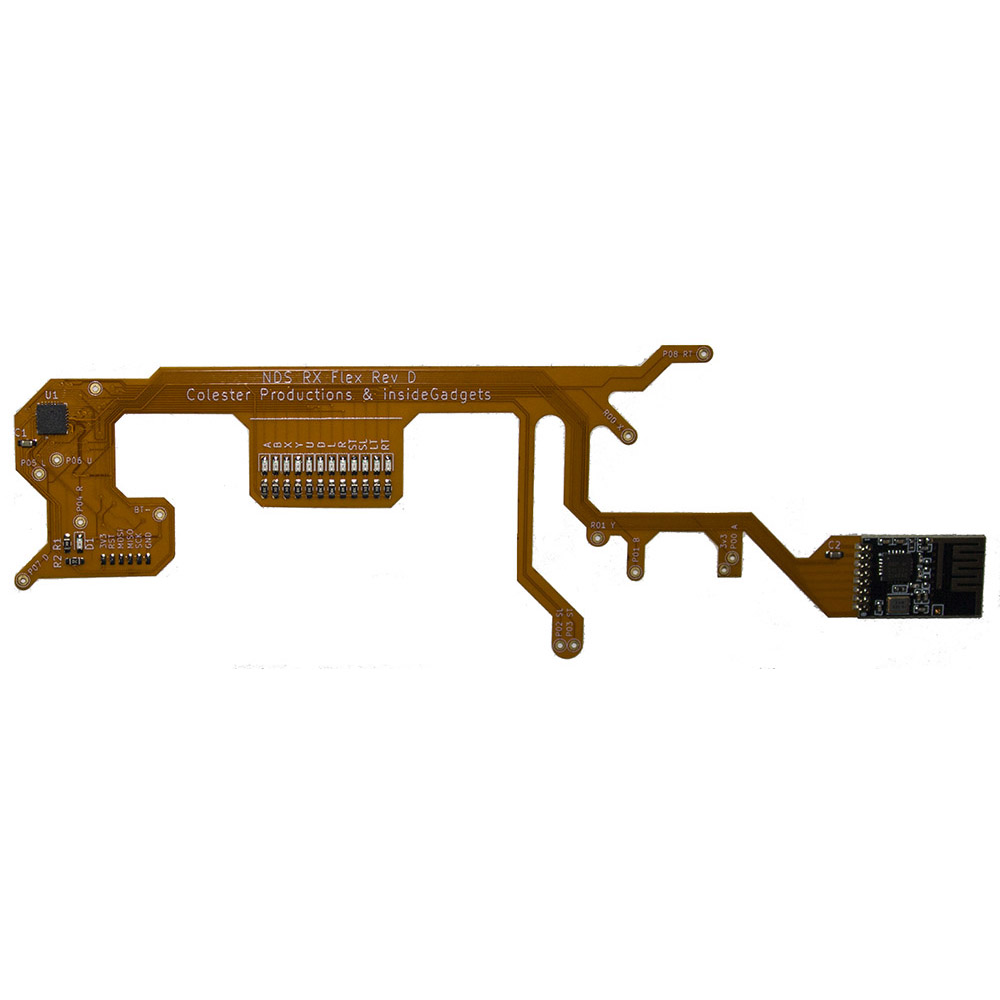
It’s up to you if you wish to leave the LEDs as they are or cut the flex board to remove them as indicated by the white line.
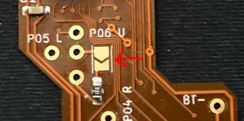
You can short this pad if you wish to disable the top screen.
Permanently remove the pen holder.
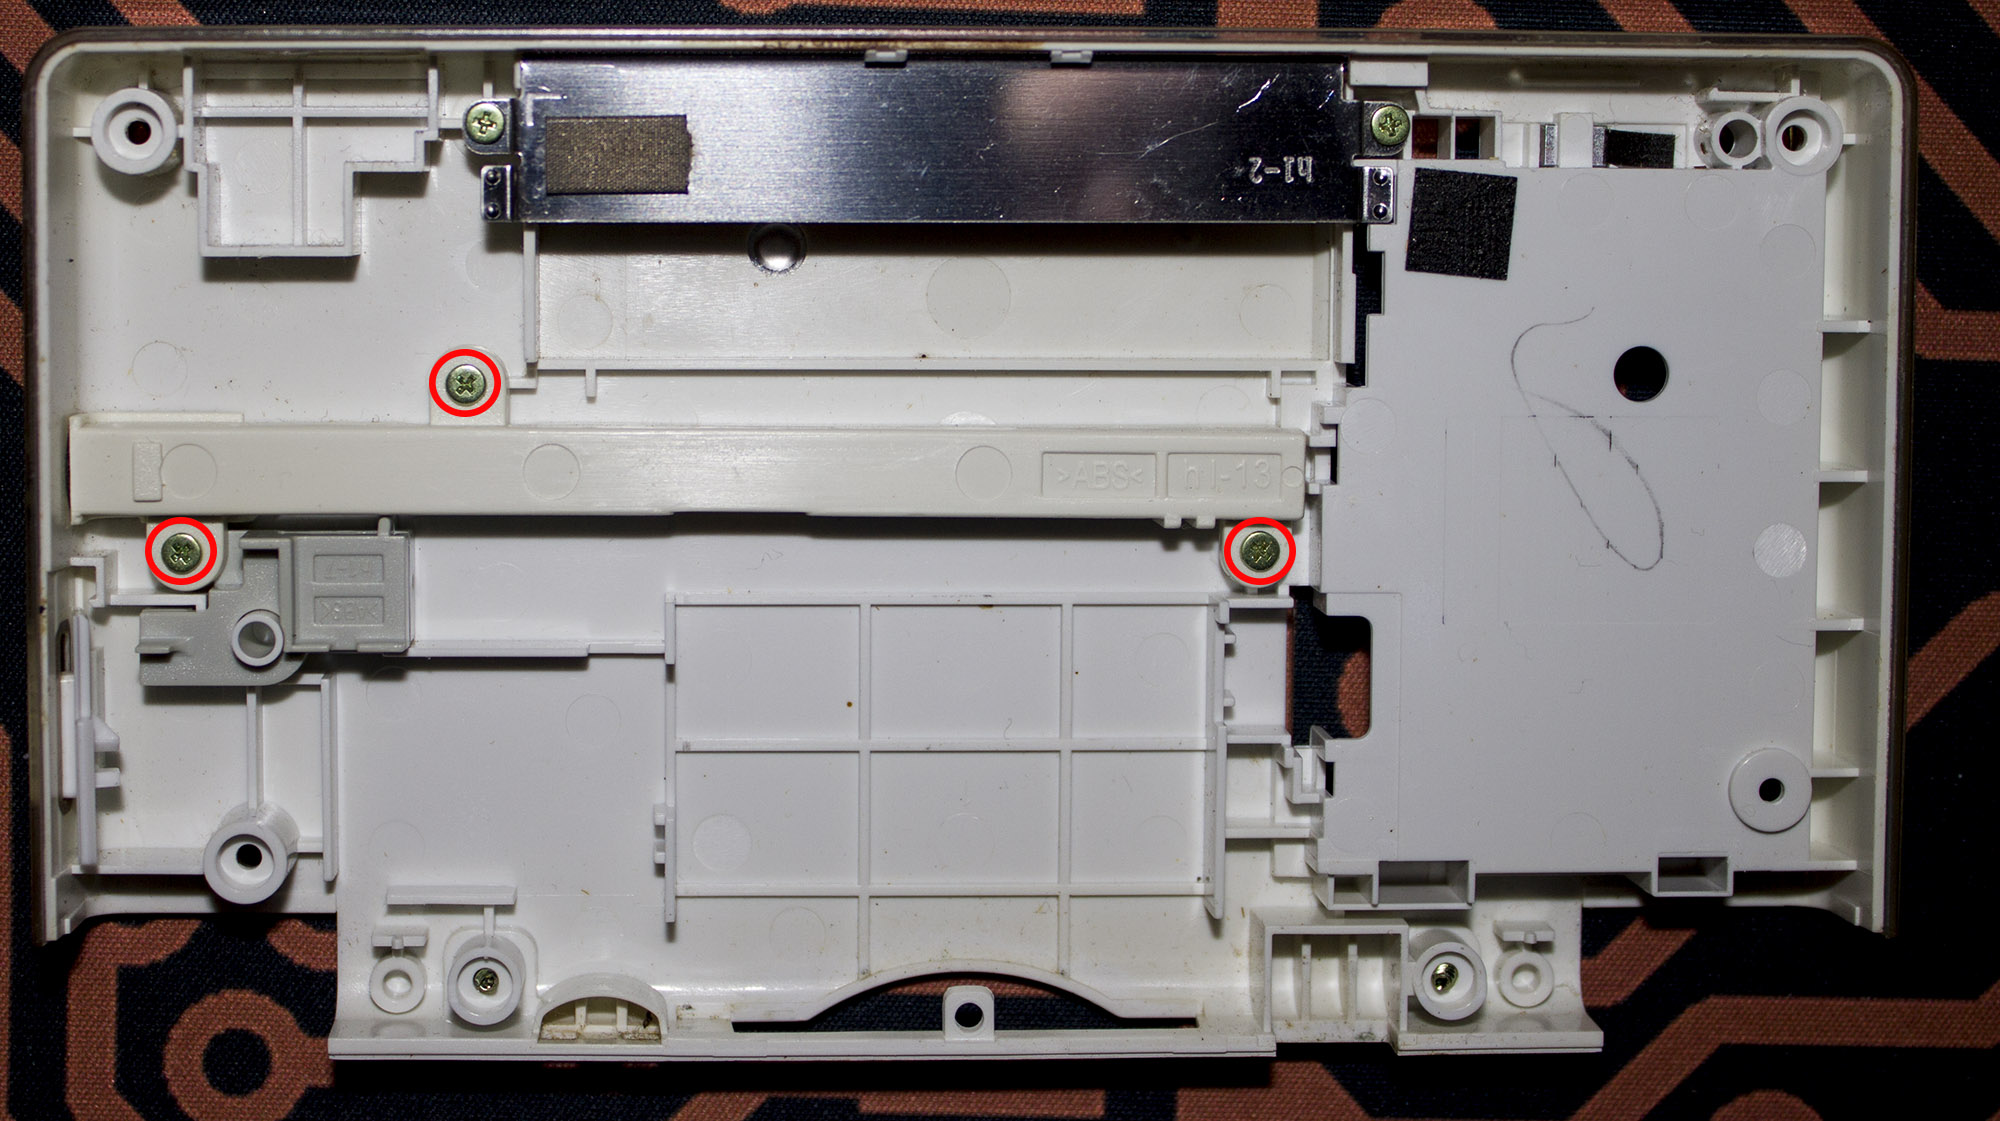
Position the wireless module into place and put the DS Lite back together.


Lucas (verified owner) –
I highly recommend this to shiny hunters it’s made my life so much easier and it’s so easy to install! Awesome product.